We will be seeing how can we can create our own personal VPN server on Oracle Cloud Always Free Tier (However, these same steps will work for every cloud provider and also for your local machine). Specifically we will be creating wireguard VPN server using algo VPN, which is a open source project created for this specific purpose of easily setting up personal VPN server on cloud(https://github.com/trailofbits/algo). Lets start…
1. Creating a VM compute instance
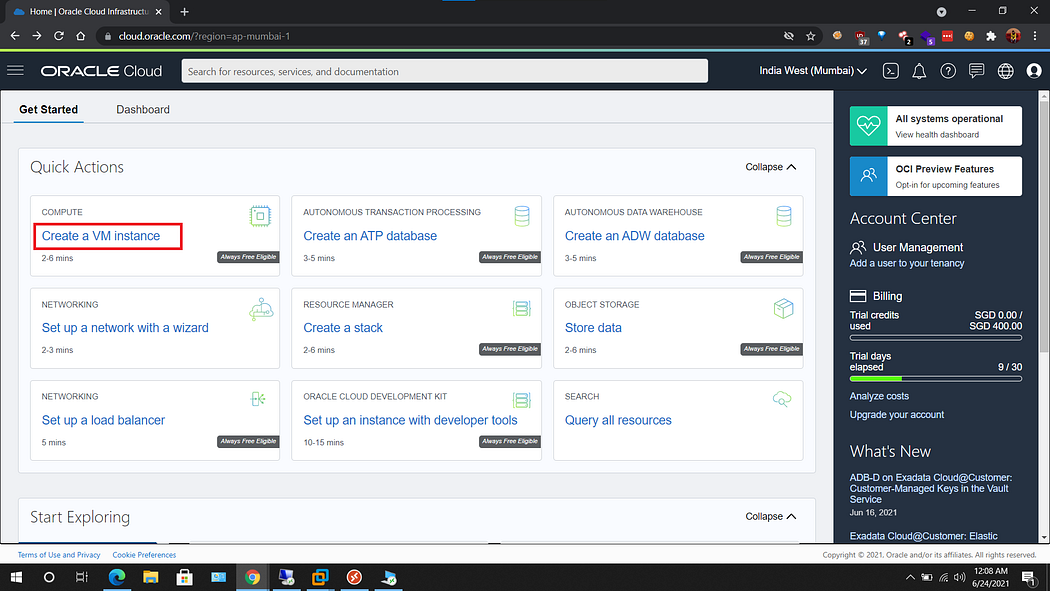
a. Login to your oracle cloud account and Click Create VM instance option.
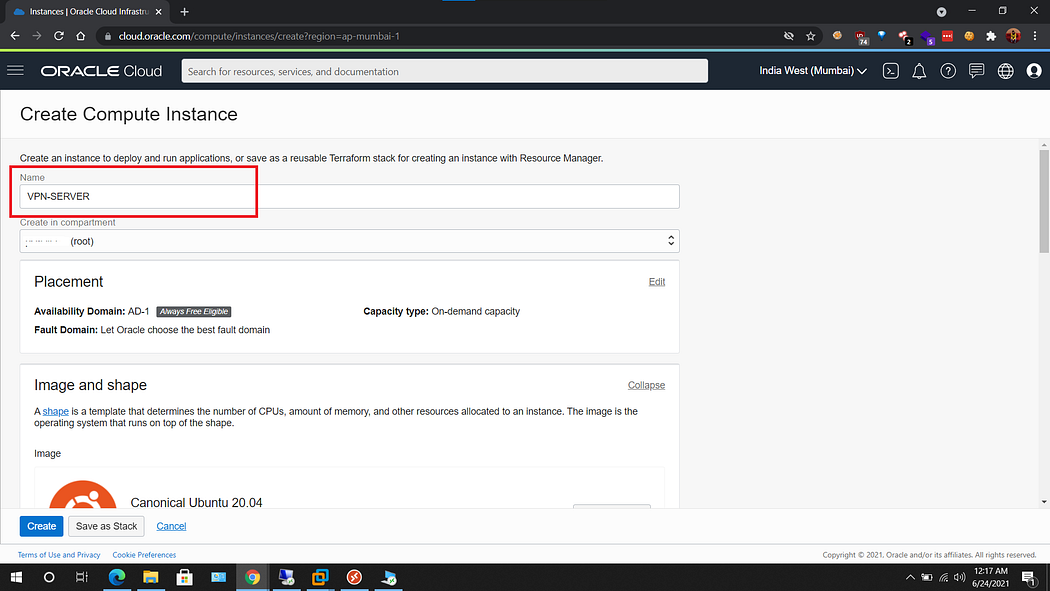
b. In the next screen you will be prompted with various configuration options for your instance. First we can change the name of our VM(not required) and select compartment in which you want to create the instance.
c. Then we may select other os images(not required)
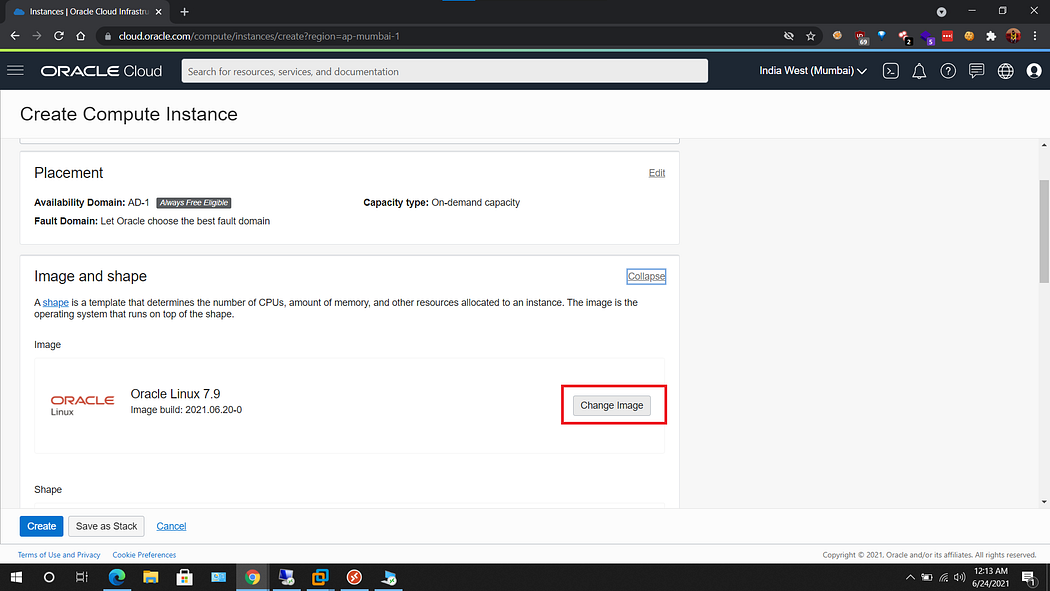
This completely depends upon user preference. Here I have chosen ubuntu 20.04 image.
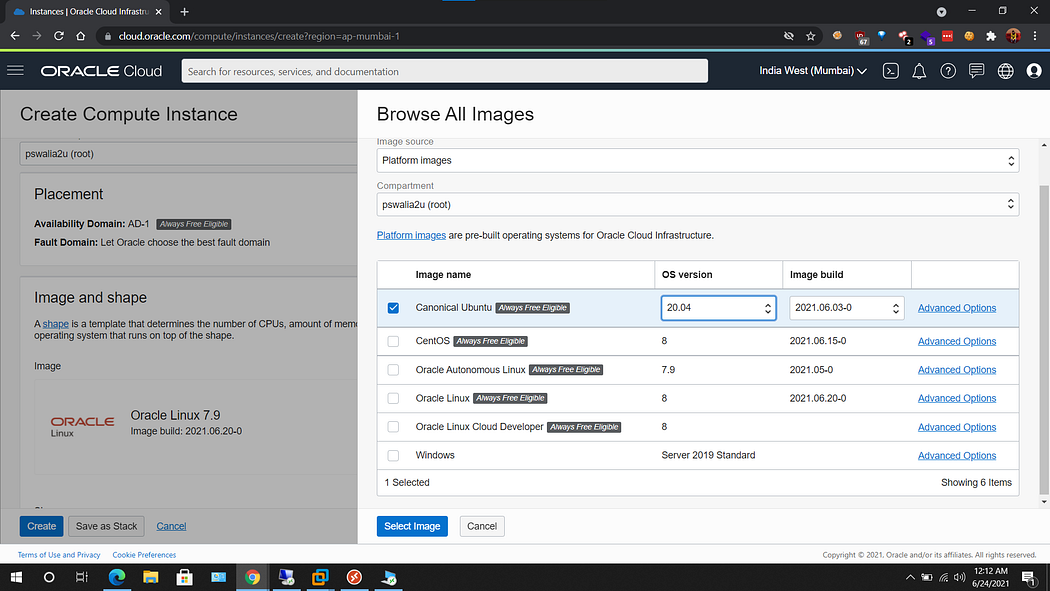
Then click Select Image option.
d. Setting ssh keys for access to VM: Scroll down and there you will find a option to upload/create ssh keys. Now here you can generate a key-pair then upload that pub key or you can upload your previously created pub key. That’s what we have done here. I have uploaded 3 ssh pub key files which allows me to connect to the VM via 3 different computers. You can create your ssh key pair using ssh-keygen command and your pub key will be available at ~/.ssh/id_rsa.pub. You can then upload this file. Please note if your keys are lost or changed you will not be able to access the machine(as password authentication is disabled by default, but can be enabled though via making modifications in ssh_config)

e. We don’t need to alter other settings scroll down and click Create button and wait for 30 seconds. Your vm will start and will be in running state.

2. Installing and Configuring algo:
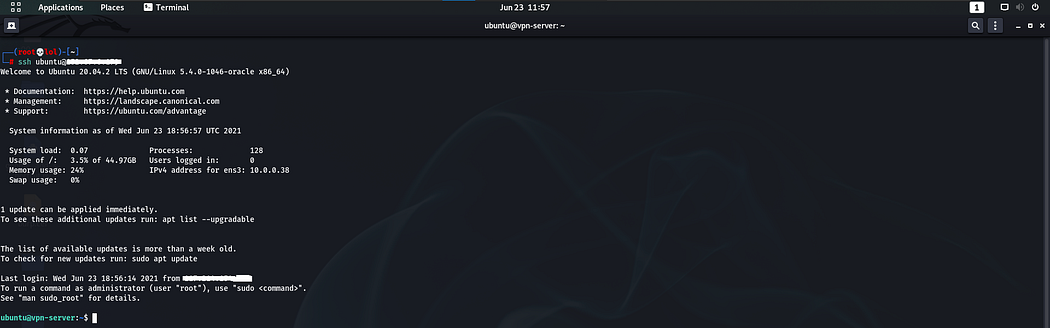
a. Connecting to VM(default username for ubuntu VMs is “ubuntu” in oracle)
ssh ubuntu@<public_ip_of_vm>
b. Updating packages repos
sudo apt update

(if you list sudo permissions via sudo -l, you can see )
b. Downloading algo vpn
git clone https://github.com/trailofbits/algo.git
cd algo

b. Installing python3-virtualenv and other dependencies:
sudo apt install -y --no-install-recommends python3-virtualenvpython3 -m virtualenv --python="$(command -v python3)" .env &&
 source .env/bin/activate &&
 python3 -m pip install -U pip virtualenv &&
 python3 -m pip install -r requirements.txt

if dependencies get installed properly we should be in a virtual environment.

c. Add more users by editing config.cfg
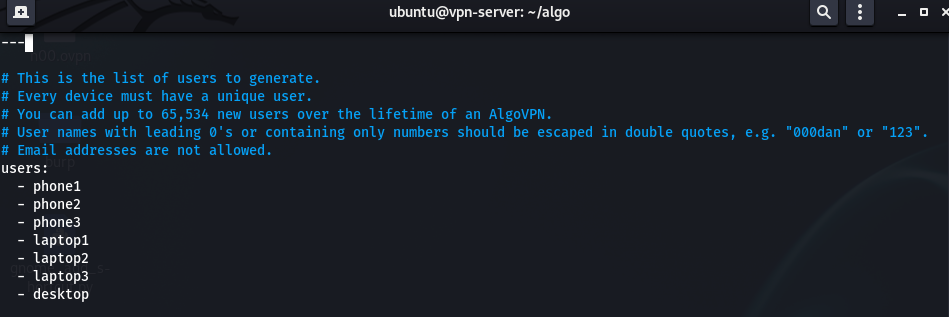
vim config.cfg
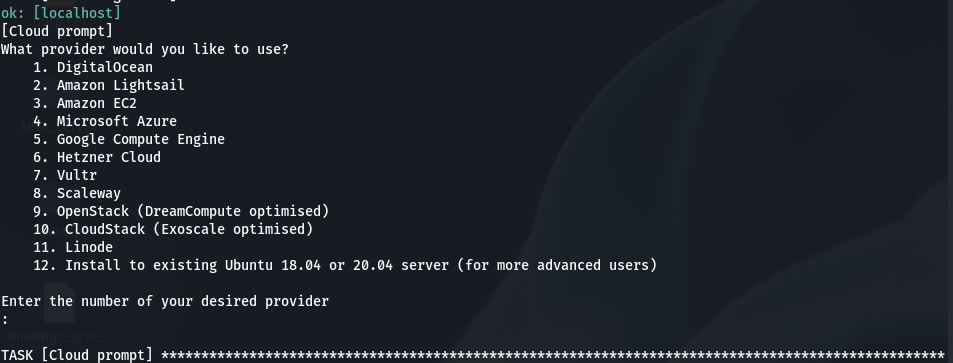
d. Run the algo binary to start the installation:

./algo[Cloud prompt] What provider would you like to use?
12 [Install to existing Ubuntu 18.04 or 20.04 server (for more advanced users)]
N

N

y

y

Enter the IP address of your server: (or use localhost for local installation):
[localhost]/<Enter>
Enter the public IP address or domain name of your server: (IMPORTANT! This is used to verify the certificate)
<public_ip_of_vm>

At last we get something like this:
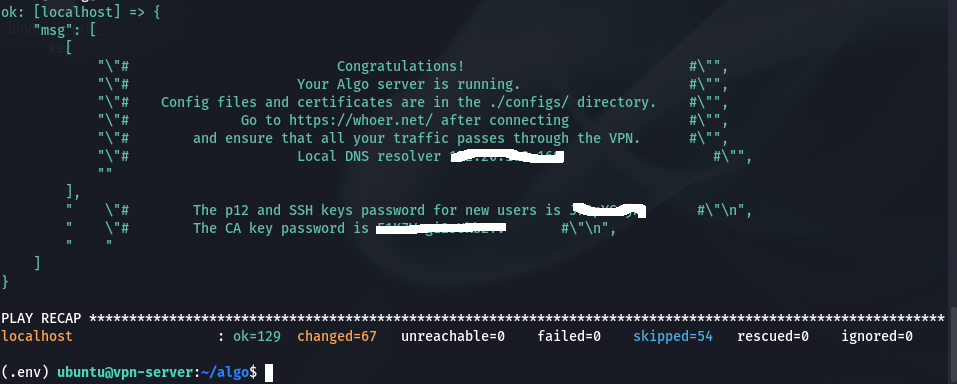
e. Copying config files and qr codes.(We will be using them to connect to vpn)
scp -r ubuntu@152.67.6.179:/home/ubuntu/algo/configs ~/Desktop/

3. Adding Security list(ingress firewall rules):
To know what ports we need to allow we can refer algo vpn’s docs(https://github.com/trailofbits/algo/blob/master/docs/firewalls.md)

or we can use netstat to see what processes are listening on which ports:
sudo apt install net-tools #(installing netstat)sudo netstat -lntup
b. After knowing to which ports we need to allow connections, we need to create new security list to our vcn which our VPN-SERVER is currently using:
i) To do that we just click on the vcn id shown in the instance details.

ii) Then in next screen we choose Security Lists option and then choose Create Security List option.

iii) Add rules according to the below image. In subnet field we need to choose 0.0.0.0/0 and in source port range we choose all.

Note: You may need to flush the default firewall rules within the instance. Run this command :
iptables -FNote: try these at your own risk!!(It might break algo vpn functionality)netfilter-persistent flushAlso you can remove these files:
/etc/iptables/rules.v4
/etc/iptables/rules.v6
/usr/share/netfilter-persistent/plugins.d/More safe option is to allow all;then verify rules are flushed or not via :iptables -nvL
You should not have any rules as shown below-

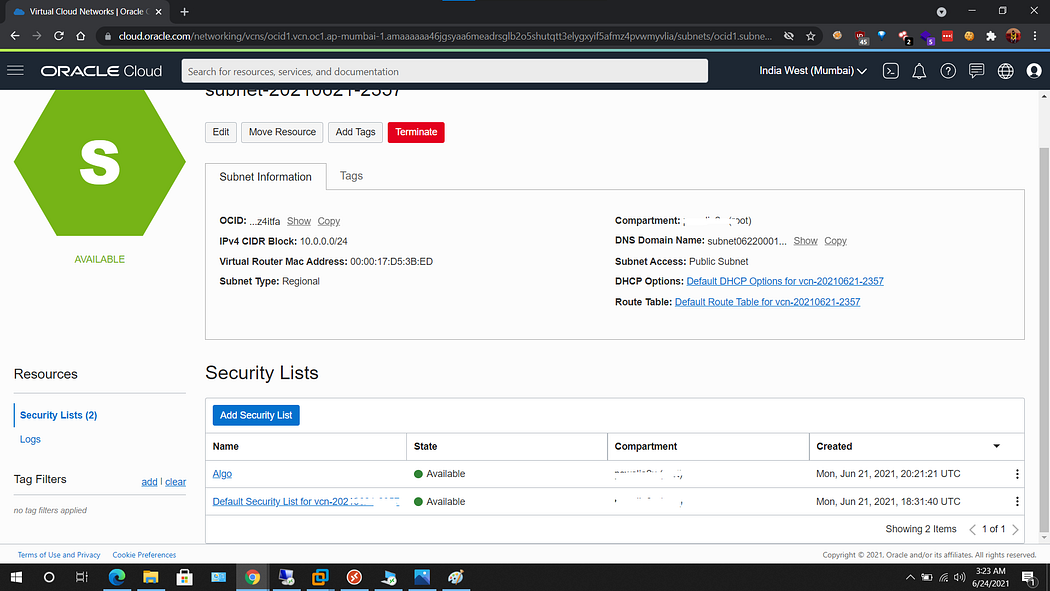
iv) Save the list and then we need to add the lit to our current subnet: For that choose subnet option and click on subnet id. It will open subnet settings.

v) Here we need to choose add security list option and choose our newly created security list named Algo. After these settings we should be able to connect to our VPN.
3. Connecting to VPN
Just download wireguard client from here(https://www.wireguard.com/install/) according to your device and OS. Then we need to add the .conf file to the client and click connect. For android wireguard client we can also scan qr codes.
And we successfully created and connected to our personal VPN server.