NextDNS
Apple Configuration Profile iOS 14 or higher
Use our Apple Configuration Profile Generator available at apple.nextdns.io
Generate a configuration profile (.mobileconfig) that will make your device use NextDNS natively using the Encrypted DNS feature.
Install on iOS and iPadOS
Requires iOS/iPadOS 14 or higher.
1. Open the Settings app.
2. Tap Profile Downloaded.
3. Tap Install in the upper-right corner, then follow the onscreen instructions.
Install on macOS
Requires macOS Big Sur or newer.
1. Open the downloaded .mobileconfig file.
2. Open System Preferences.
3. Go to Profiles.
4. Click Install.
Install on tvOS
Requires tvOS 14 or higher.
1. Open the Settings app.
2. Go to General → Privacy.
3. Hover over Share Apple TV Analytics without pressing.
4. Press Play on the remote.
5. Select Add Profile.
6. Make the downloaded .mobileconfig file accessible publicly and enter its URL.
7. Install the profile following the onscreen instructions.
Identify your devices
Follow the instructions below to identify your devices in Analytics and Logs.
Apps: Enable “Send Device Name” in the app settings.
DNS-over-TLS: Prepend the name to the provided domain (the name should only contain a-z, A-Z, 0-9 and -). Use — for spaces.
For “John Router”, you would use John–Router-d2b227.dns.nextdns.io as your DNS-over-TLS endpoint.
DNS-over-HTTPS: Append the name to the provided URL (the name should be URL encoded).
For “John’s Firefox”, you would use https://dns.nextdns.io/d2b227/John’s%20Firefox as your DNS-over-HTTPS endpoint.
AdGuard DNS profiles for iOS 14 (and above)
AdGuard made available a great new service, leveraging a new feature from iOS 14. The only place I have seen it mentioned is in their blog. Since I think few people would be aware of it, I though it would be useful to post the details here. The instruction are take from AdGuard blog: https://adguard.com/en/blog/encrypted-dns-ios-14.html
Step 1 — setting up a profile
Simply open this page in Safari on your iOS device and follow one of the links below:
AdGuard DNS profile — blocks ads, tracking, malicious and phishing websites.
AdGuard DNS Family protection profile — same as AdGuard DNS + blocks adult websites, enforces “Safe search” in search engines and YouTube Kids mode(!).
AdGuard DNS Non-filtering profile — doesn’t block or censor anything. Use it if you just need a fast and zero logging DNS service.
Step 2 — download and install
After you download a profile, go to Settings. You’ll see there a Profiles downloaded item. Tap on it, check if everything’s right with profile data, and the install.
Step 3 — configuration and testing
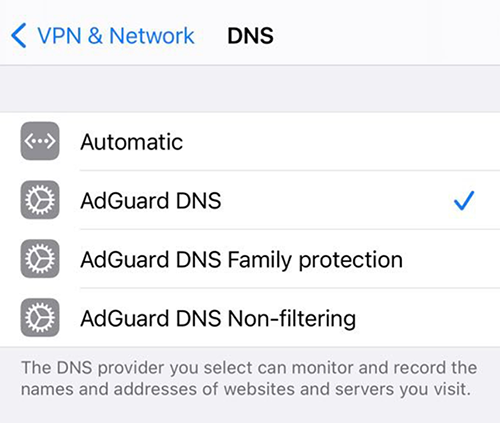
You can manage installed DNS profiles via your device’s settings. Go to Settings -> General -> VPN & Network -> DNS. There you will find all installed DNS servers and will be able to jump from one to another.
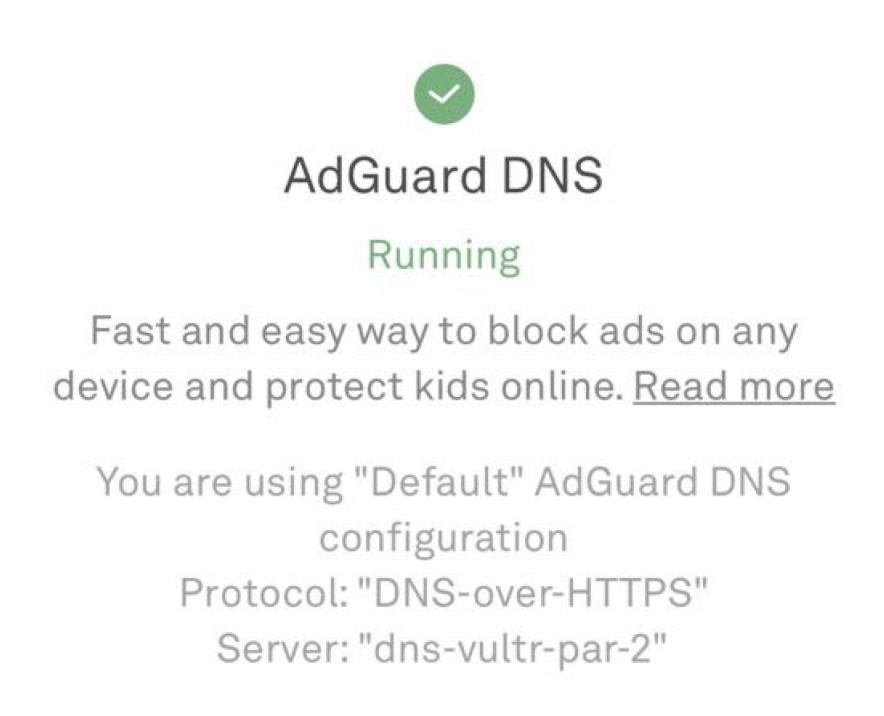
To test if the configuration works correctly, follow this link to the AdGuard test page and check that AdGuard DNS is detected.
The difference compared to AdGuard app
Compared to AdGuard app, there is a couple of significant drawbacks: you won’t be able to see which requests exactly do apps on your device send. It will also be impossible to use DNS filtering and manually manage which servers to block and which to allow access to.
Keep in mind that if you use either AdGuard VPN or AdGuard ad blocker app, the DNS server selected there will get preference.
How to configure it for AdGuard DNS
It includes several steps:
Step 1 — setting up a profile
The very first step is to set up an AdGuard DNS profile.
We provide profiles for all configurations of AdGuard DNS. Notice that it is possible to set up all three and switch between them.
Simply open this page in Safari on your iOS device and follow one of the links below:
- AdGuard DNS profile — blocks ads, tracking, malicious and phishing websites.
- AdGuard DNS Family protection profile — same as AdGuard DNS + blocks adult websites, enforces “Safe search” in search engines and YouTube Kids mode(!).
- AdGuard DNS Non-filtering profile — doesn’t block or censor anything. Use it if you just need a fast and zero logging DNS service.
Step 2 — download and install
After you download a profile, go to Settings. You’ll see there a Profiles downloaded item:
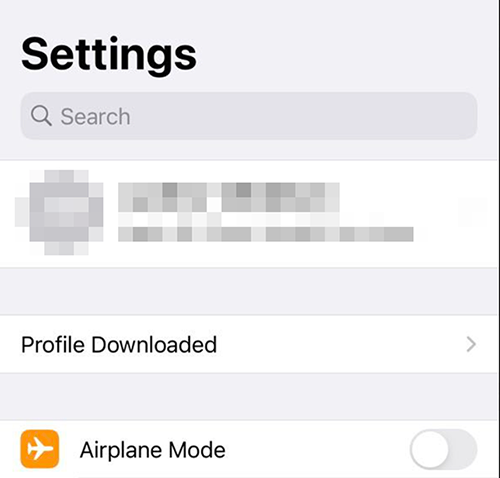
Tap on it, check if everything’s right with profile data, and the install:

Step 3 — configuration and testing
You can manage installed DNS profiles via your device’s settings. Go to Settings -> General -> VPN & Network -> DNS. There you will find all installed DNS servers and will be able to jump from one to another.
To test if the configuration works correctly, follow this link to the AdGuard test page and check that AdGuard DNS is detected.